


![Jujutsu Kaisen | MYSTERY MINIS [BLIND BOX]](http://www.beserk.com.au/cdn/shop/files/funko-jujutsu-kaisen-mystery-minis-blind-box-3.jpg?v=1771369640&width=600)
![Jujutsu Kaisen | MYSTERY MINIS [BLIND BOX]](http://www.beserk.com.au/cdn/shop/files/funko-jujutsu-kaisen-mystery-minis-blind-box-2.jpg?v=1771369640&width=600)


![Ghost: Papa Emeritus IV [Glitter] | POP! VINYL](http://www.beserk.com.au/cdn/shop/files/funko-ghost-papa-emeritus-iv-glitter-pop_-vinyl-1.jpg?v=1771353002&width=600)
![Ghost: Papa Emeritus IV [Glitter] | POP! VINYL](http://www.beserk.com.au/cdn/shop/files/funko-ghost-papa-emeritus-iv-glitter-pop_-vinyl-2.jpg?v=1771353002&width=600)


![Homewares Sticky Paw [Large] - Back View](http://www.beserk.com.au/cdn/shop/files/homewares-sticky-paw-large-fidget-toy-3.jpg?v=1774965458&width=600)
![Homewares Sticky Paw [Large] - Front View](http://www.beserk.com.au/cdn/shop/files/homewares-sticky-paw-large-fidget-toy-1.jpg?v=1774965458&width=600)
![Homewares Sticky Paw [Small] - Front View](http://www.beserk.com.au/cdn/shop/files/homewares-sticky-paw-small-fidget-toy-1.jpg?v=1771360603&width=600)
![Homewares Sticky Paw [Small] - Back View](http://www.beserk.com.au/cdn/shop/files/homewares-sticky-paw-small-fidget-toy-3.jpg?v=1771360603&width=600)
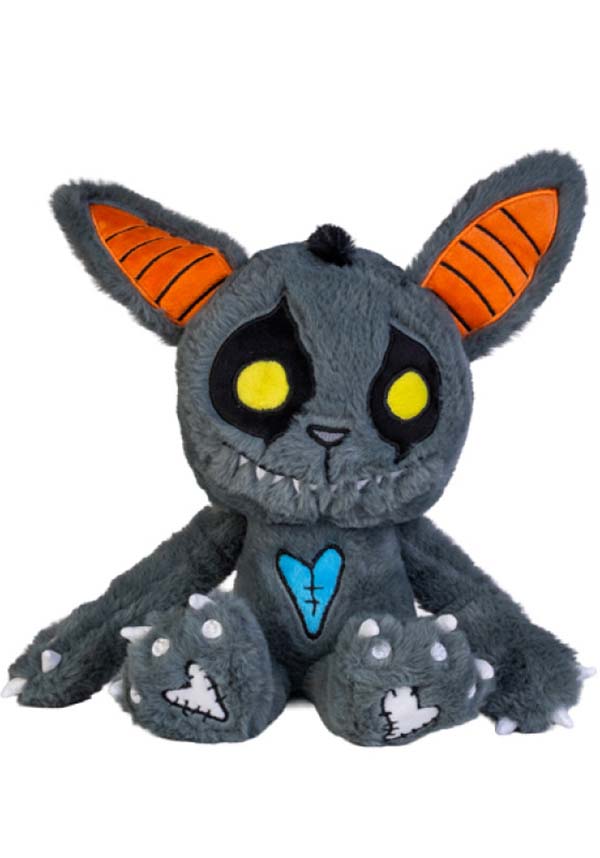
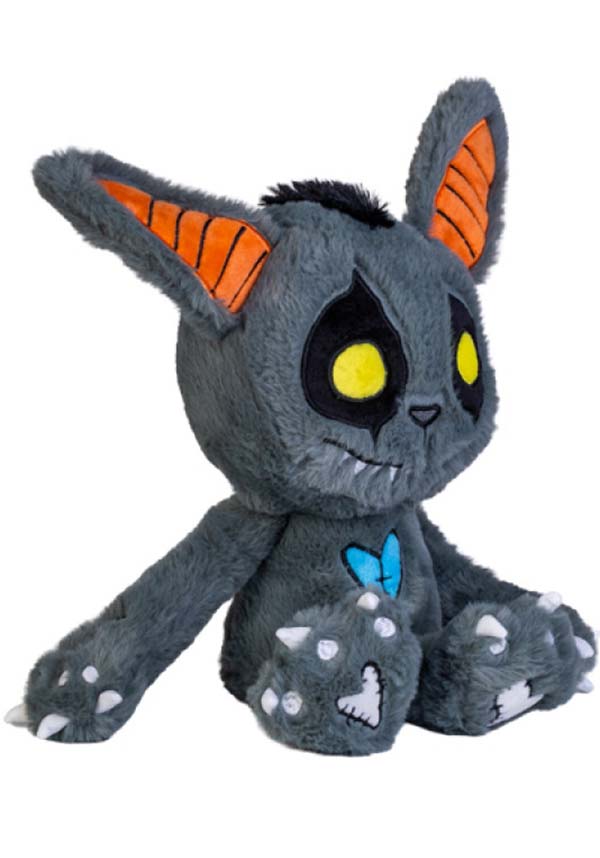
![Gus Fink SID The Sleep Paralysis Demon [XL] - Front View](http://www.beserk.com.au/cdn/shop/files/gus-fink-sid-the-sleep-paralysis-demon-xl-plush-1.jpg?v=1771360037&width=600)
![Gus Fink SID The Sleep Paralysis Demon [XL] - Back View](http://www.beserk.com.au/cdn/shop/files/gus-fink-sid-the-sleep-paralysis-demon-xl-plush-2.jpg?v=1771369467&width=600)
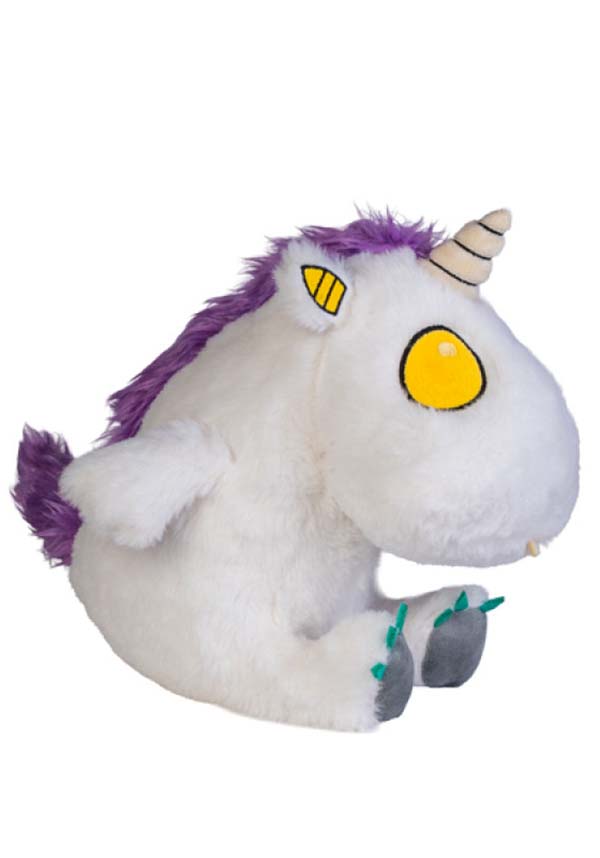
![Gus Fink Magesto The Magic Healing Monster [XL] - Front View](http://www.beserk.com.au/cdn/shop/files/gus-fink-magesto-the-magic-healing-monster-xl-plush-1.jpg?v=1771360032&width=600)
![Gus Fink Magesto The Magic Healing Monster [XL] - Back View](http://www.beserk.com.au/cdn/shop/files/gus-fink-magesto-the-magic-healing-monster-xl-plush-2.jpg?v=1771369461&width=600)


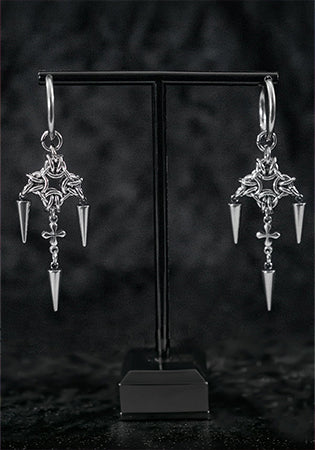
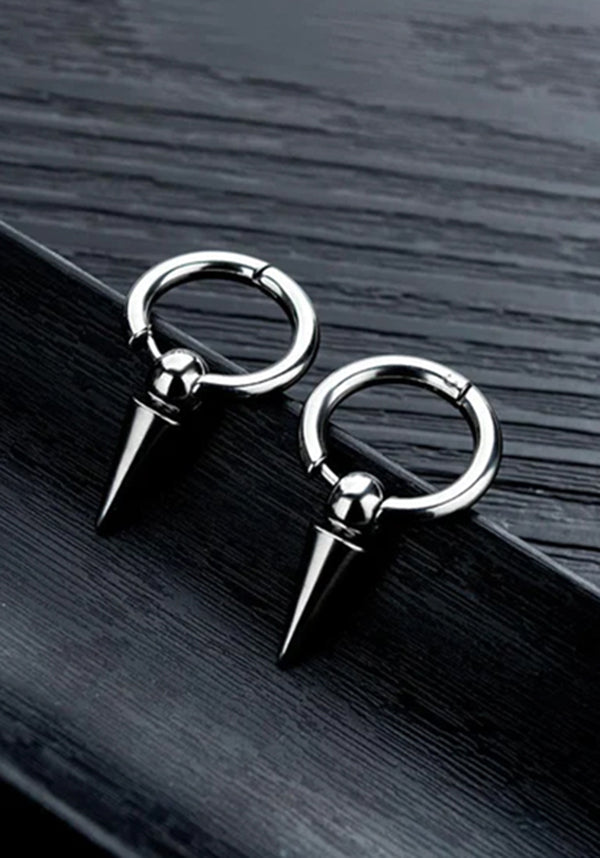
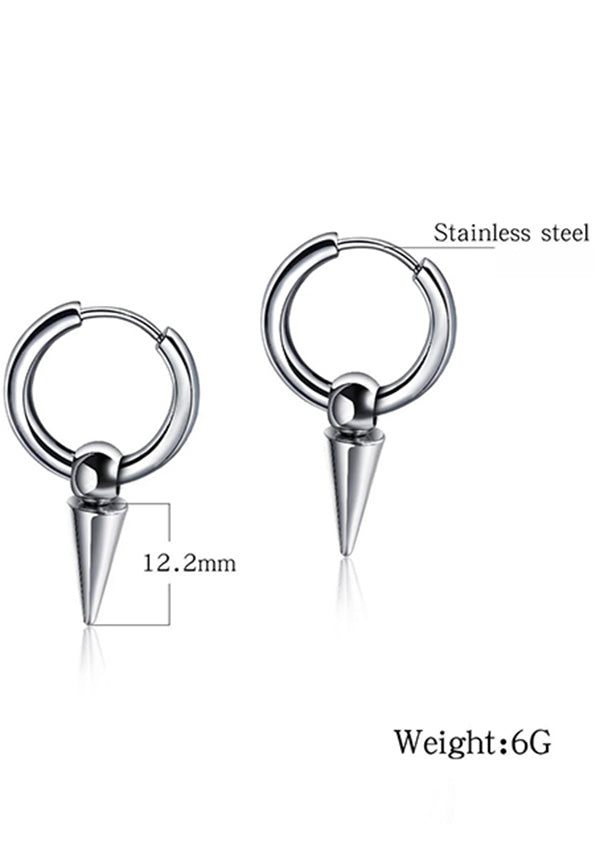
![Oufer Spiked [Silver] - Front](http://www.beserk.com.au/cdn/shop/files/oufer-body-jewelery-spiked-silver-hoop-earrings-1_ef5777c2-c4e3-4bef-909d-b060d4ec6f0a.jpg?v=1771162837&width=600)
![Oufer Spiked [Silver] - Back](http://www.beserk.com.au/cdn/shop/files/oufer-body-jewelery-spiked-silver-hoop-earrings-2.jpg?v=1771162837&width=600)
![Oufer Spiked [Black] - Product Image](http://www.beserk.com.au/cdn/shop/files/oufer-body-jewelery-spiked-black-hoop-earrings-1.jpg?v=1770949357&width=600)
![Oufer Fake Pincher [Threadless] - Front](http://www.beserk.com.au/cdn/shop/files/oufer-body-jewelery-fake-pincer-threadless-septum-ring-4_08db568e-0e4d-4c3c-b549-67278365c4d4.jpg?v=1771162898&width=600)
![Oufer Fake Pincher [Threadless] - Back](http://www.beserk.com.au/cdn/shop/files/oufer-body-jewelery-fake-pincer-threadless-septum-ring-3.jpg?v=1771162898&width=600)
![Oufer Star [Titanium] Hinged - Front](http://www.beserk.com.au/cdn/shop/files/oufer-body-jewelery-star-titanium-hinged-segment-ring-4_5e81be56-b61f-4145-a3c8-ac3e4767282b.jpg?v=1771165099&width=600)
![Oufer Star [Titanium] Hinged - Back](http://www.beserk.com.au/cdn/shop/files/oufer-body-jewelery-star-titanium-hinged-segment-ring-2.jpg?v=1771165099&width=600)
![Oufer 20g [Titanium] Spike - Front](http://www.beserk.com.au/cdn/shop/files/oufer-body-jewelery-20g-titanium-spike-2pc-nose-stud-1_e6c4ac73-d3e7-4daa-828e-3115d4288dc1.jpg?v=1771165110&width=600)
![Oufer 20g [Titanium] Spike - Back](http://www.beserk.com.au/cdn/shop/files/oufer-body-jewelery-20g-titanium-spike-2pc-nose-stud-2_978c490b-c326-4b0b-9ace-7803a7d07272.jpg?v=1771165110&width=600)
![Oufer Bloodsucker [Red/Black] - Front](http://www.beserk.com.au/cdn/shop/files/oufer-body-jewelery-bloodsucker-red-black-3pc-nose-stud-4.jpg?v=1770960858&width=600)
![Oufer Bloodsucker [Red/Black] - Detail](http://www.beserk.com.au/cdn/shop/files/oufer-body-jewelery-bloodsucker-red-black-3pc-nose-stud-5.jpg?v=1774314574&width=600)
![Oufer Black Widow [Red/Black] - Front](http://www.beserk.com.au/cdn/shop/files/oufer-body-jewelery-black-widow-red-black-3pc-nose-stud-1_64135015-55fc-4f56-95f8-b9aaa214d1b5.jpg?v=1771165171&width=600)
![Oufer Black Widow [Red/Black] - Back](http://www.beserk.com.au/cdn/shop/files/oufer-body-jewelery-black-widow-red-black-3pc-nose-stud-5_84ed3517-c3c2-4246-83f4-5ce86e1dcff2.jpg?v=1771165171&width=600)
VEGAN
Cruelty-Free Gothic & Alternative Fashion
Embrace your dark aesthetic without compromise. Our vegan collection features 100% cruelty-free footwear, apparel, and accessories that prove you don't need animal products to make a bold statement. From vegan leather boots to alternative fashion staples, every piece is thoughtfully curated for conscious style.
Why Choose Vegan?
-
100% Cruelty-Free: No animal products, no compromise on style
-
Ethical Alternative Fashion: Gothic looks that align with your values
-
Quality Materials: Durable vegan leather and sustainable fabrics
-
Full Range: Boots, clothing, accessories, and more
Shop our complete vegan collection and discover compassionate fashion that's as bold and unapologetic as you are.
Award Winning Customer Service
Helping you is our top priority! Our 8 Customer Service Awards reflect the friendly, personal support we love to provide.
All items are kept in stock!
All our items are 100% Genuine and dispatched from our warehouse at Virginia, Queensland, Australia. We do not sell cheap copies!
Secure payments
Your privacy and security are our top priority. SSL-encrypted and Google-verified.
 Welcome to Beserk – Australia's Premier Alternative & Gothic Fashion Destination
 Welcome to Beserk – Australia's Premier Alternative & Gothic Fashion Destination
SHOP ALTERNATIVE & GOTHIC CLOTHING ONLINE
Beserk is Australia's longest-running and most trusted online store for gothic clothing, alternative fashion, and dark luxury apparel. Since our founding, we've been the go-to destination for alternative style enthusiasts seeking premium goth clothing, punk fashion, and edgy streetwear.
Based in Brisbane, we curate an extensive collection of gothic fashion and alternative clothing from leading international brands. From complete goth outfits to statement accessories, we bring the world's best alternative fashion directly to your door across Australia and beyond.
Build your signature look from head to toe with our range of gothic boots, platform shoes, alternative dresses, band tees, fishnet stockings, chokers, and body jewelry. We also stock cult-favorite hair dyes, goth cosmetics, Korean skincare, vegan beauty products, and alternative homewares to complete your dark aesthetic lifestyle.
ALTERNATIVE FASHION FOR EVERY STYLE
Whether you're into gothic lolita, nu-goth, punk rock, grunge, emo fashion, or kawaii dark styles, Beserk has you covered. Our carefully curated alternative clothing collection lets you express your unique personality – from soft goth and pastel grunge to full witchy vibes and hardcore punk aesthetics.
Mix sweetness with darkness, combine kawaii cute with gothic edge, or go full alternative badass. With hundreds of products spanning alternative dresses, gothic tops, punk pants, platform boots, and statement accessories, the styling possibilities are endless.
POP CULTURE, GAMING & COSPLAY ESSENTIALS
Level up your wardrobe with our pop culture apparel, anime merch, gaming clothing, and geek fashion. Shop licensed band tees, horror movie merchandise, and fandom apparel that celebrates your obsessions.
Our cosplay collection features wigs, colored contact lenses, costume accessories, and character-inspired fashion perfect for conventions, photoshoots, or everyday cosplay style. Plus, explore our K-beauty range with Korean skincare products, sheet masks, and Asian beauty essentials to achieve that flawless gamer-girl glow.
Why Shop Beserk? ✦ Australia's largest alternative fashion retailer
✦ Curated collections from global alternative brands
✦ Gothic, punk, grunge, kawaii & pop culture styles
✦ Gaming apparel, anime merch & cosplay supplies
✦ Korean skincare & K-beauty products
✦ Fast Australian shipping
✦ Expert alternative fashion curation
Tag #beserk on social media to showcase your alternative style and be featured in our community.